
Clay earrings, in particular, polymer clay earrings, are having a serious moment. A quick search of Etsy brings up 310,000 options for polymer clay earrings crafted by small makers. Woah! That's a lot of earrings - and A LOT of plastic...but I'll get to that after the fun stuff. Maybe you've seen someone making clay earrings on your Instagram feed or some gracing the shelves of your favorite store, and want to try your hand at making your own...then this beginner-friendly, step-by-step tutorial is for you.
DIY Clay Earrings + Clay Barrettes are a super simple clay craft, and with the tips below, even the questionably crafty will create clay accessories they are proud to show off!
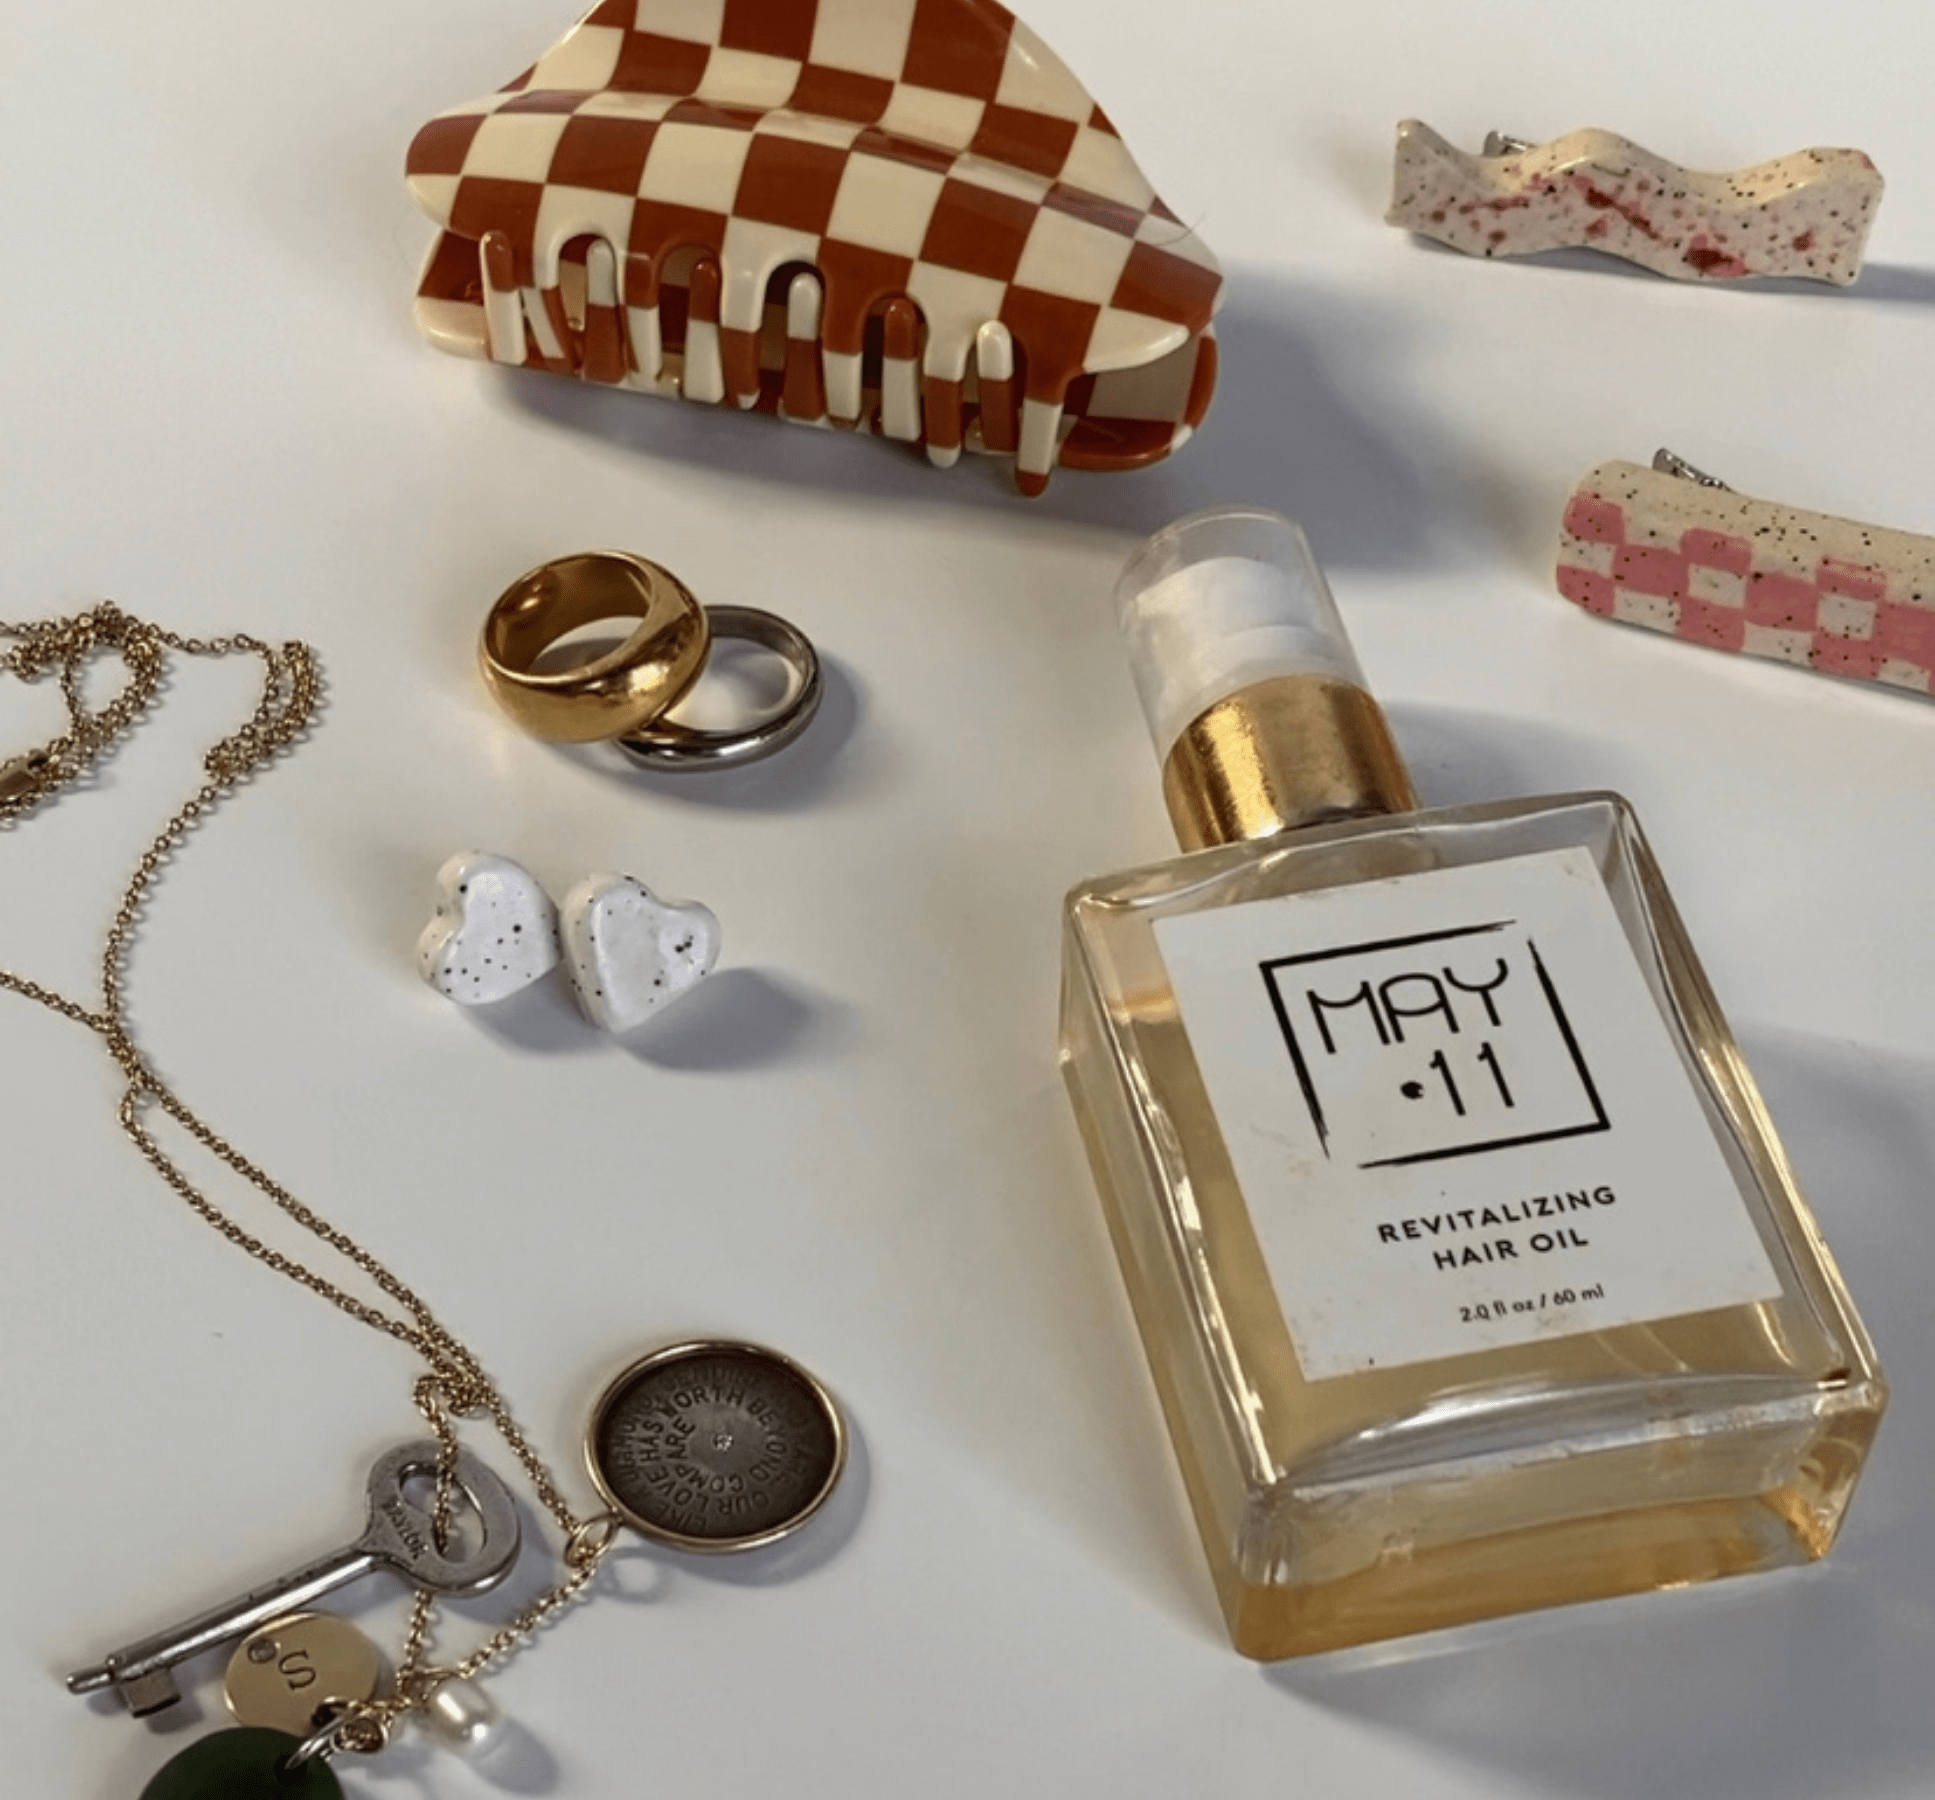
With both projects, the options for shapes, styles, and colors are endless.
Clay Earrings
Materials
- Clay (air dry or ceramic)
- Rolling pin (or metal water bottle or wine bottle)
- Knife or sharp pottery tool
- Sponge
- Earring backings
- Super glue
- Flat work surface
- Optional - small cookie cutters or clay cutters
- Optional - used dry cleaning bag or compostable cling wrap

Step 1: Brainstorm shapes for your earrings. If you'd like, you can grab a piece of paper and pencil, and sketch some potential designs. Make sure not to do anything too big or the earrings could be heavy.
Step 2: Use your rolling pin to roll out your clay to about 1/8"
Step 3: Cut out the shapes for your earrings using your knife, sharp pottery tool or small cookie cutter.
**Tip: If you are using a cookie cutter or clay cutter, lay your dry cleaning bag or cling wrap over the slab of clay before using the cutter for much smoother edges!
Step 4: Smooth the edges of your shapes with a sponge
Step 5: Let the shapes dry fully (about 2-3 days)
Step 6: Decorate your earrings with paint (for air dry clay) or underglaze (for ceramic clay)
Step 7 (CERAMIC CLAY ONLY): Get your shapes professionally fired + glazed at a pottery studio. You can find one near you right here.
Step 8: Use super glue to attach your earring backings to the back of your clay shapes, then hold for about 30 seconds until the glue dries.
Step 9: Show off your new handmade clay earrings or gift them to a loved one.
Clay Barrettes
Materials
- Clay (air dry or ceramic)
- Rolling pin (or metal water bottle or wine bottle)
- Knife or sharp pottery tool
- Sponge
- Metal barrette clip
- Super glue
- Flat work surface

Step 1: Brainstorm shapes for your DIY barrettes. Make sure that what you create is big enough to cover the metal clip, and remember, clay shrinks about 10% as it dries, so make your shapes a bit bigger than is needed to cover the clip.
Step 2: Use your rolling pin to roll out your clay to about 1/8"
Step 3: Cut out the shapes for your barrettes using your knife or sharp pottery tool.
Step 4: Smooth the edges of your shapes with a sponge
Step 5: Let the shapes dry fully (about 2-3 days)
Step 6: Decorate your barrettes with paint (for air dry clay) or underglaze (for ceramic clay)
Step 7 (CERAMIC CLAY ONLY): Get your shapes professionally fired + glazed at a pottery studio. You can find one near you right here.
Step 8: Use super glue to attach your metal barrette clips to the back of your clay shapes, then hold for about 30 seconds until the glue dries.
Step 9: Gift your handmade barrettes...if you can bear parting with them when you see how cute they turn out! Luckily they are easy to make, so you can make plenty to gift and to keep. They are great for keeping your hair out of your face and out of the clay when doing pottery.

Why use air dry clay or ceramic clay instead of polymer clay?
While polymer clay is loved for its vibrant colors, flexibility, being lightweight, and ability to be baked in your home oven, it is made of polyvinyl chloride/PVC, a type of plastic that isn’t easily recyclable like HDPE or PET – aka the types of plastics found in bottles and bags. Additionally, PVC is being phased out in consumer use so it will become even more difficult to recycle in the future. Air dry clay and ceramic clay are both plastic-free.
Need materials to make your own clay accessories and much more?
Grab our Deluxe Clay Kit to make colorful ceramic creations, or skip the trip to the kiln, and opt for our original Air Dry Clay Kit.
